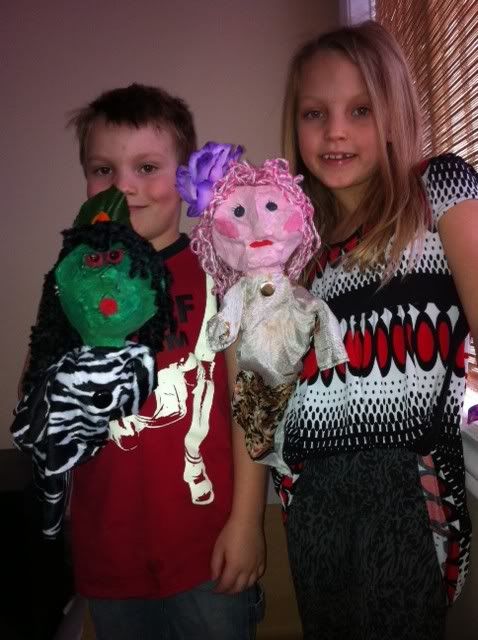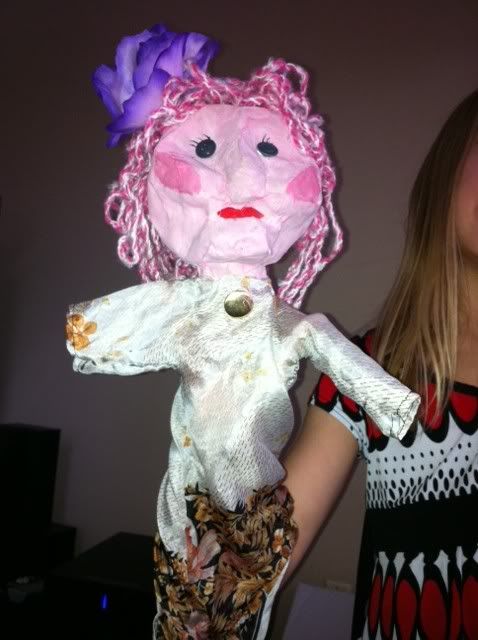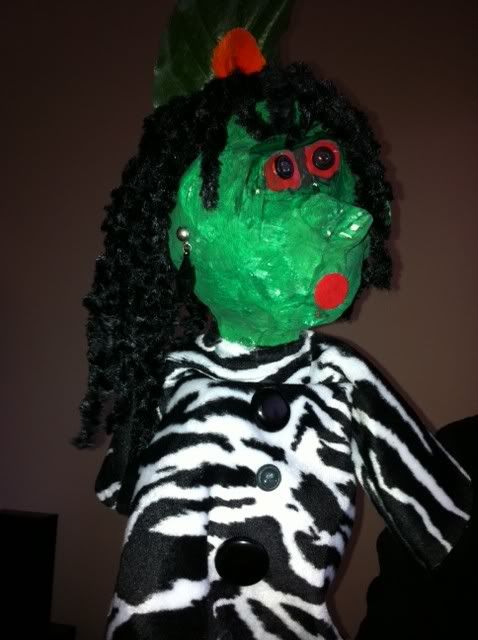


Unfortunately, I did not take photos during the making process, but it is easy enough that I can give you the basic instructions.
Required materials
newspaper
flour
water
balloon
toilet paper roll
tape
fabric or an old t-shirt or handkerchief etc.
yarn
paint
scissors
accessories
hot glue gun
1. Blow the balloon up the size of a large grapefruit or small cantaloupe. The temptation is to make it bigger - but bigger is not better in this case. Remember it is a the foundation for a head the will be held up by your child's little fingers.
2. Cut a toilet paper roll in half and tape it to the balloon. This will form the neck of your puppet and the place for fingers to be inserted to control the head.
3. Form the structure of the head with balled up or rolled paper taped to the balloon. For a face you will want to add nose, cheek bones, chin, eyebrow bone etc. For an animal, you can add a rolled up paper (like a tepee) to the nose area for a snout. Be creative... and remember you are not looking for perfection, but character.
4. Cut or rip a large amount of strips of newspaper.
5. Make the paste by mixing one part flour to two parts water. Mix well to get rid of any lumps. the consistency should be like runny thick glue (if that makes any sense?).
6. Dip a paper strip in the paste and run it between two fingers to remove the excess. You don't want it to be dripping. Apply a layer of wet paper strips all over the head and running down to and on to the paper roll.
7. Once you have a nice layer applied, let it dry for a day.
(You may skip the above step, but it will make no promises on the strength or long it will take to dry.)
8. Apply a finishing layer of strips to the face once the first layer is dry.
9. Once dry, paint the face (you can speed dry with blow dryer).
10. Add the hair with a hot glue gun.
11. If you sew - you can make a simple dress, or you can glue gun a dress together.
12. Attach the dress to the head (with the glue gun), leaving some neck exposed, so it is easy to access the arms with your fingers.
Tada! You are finished!
My kids loved this project so much! They were just both so very proud of their creations. At one point Muffin said, "I just can't believe that I made this!"


No comments:
Post a Comment